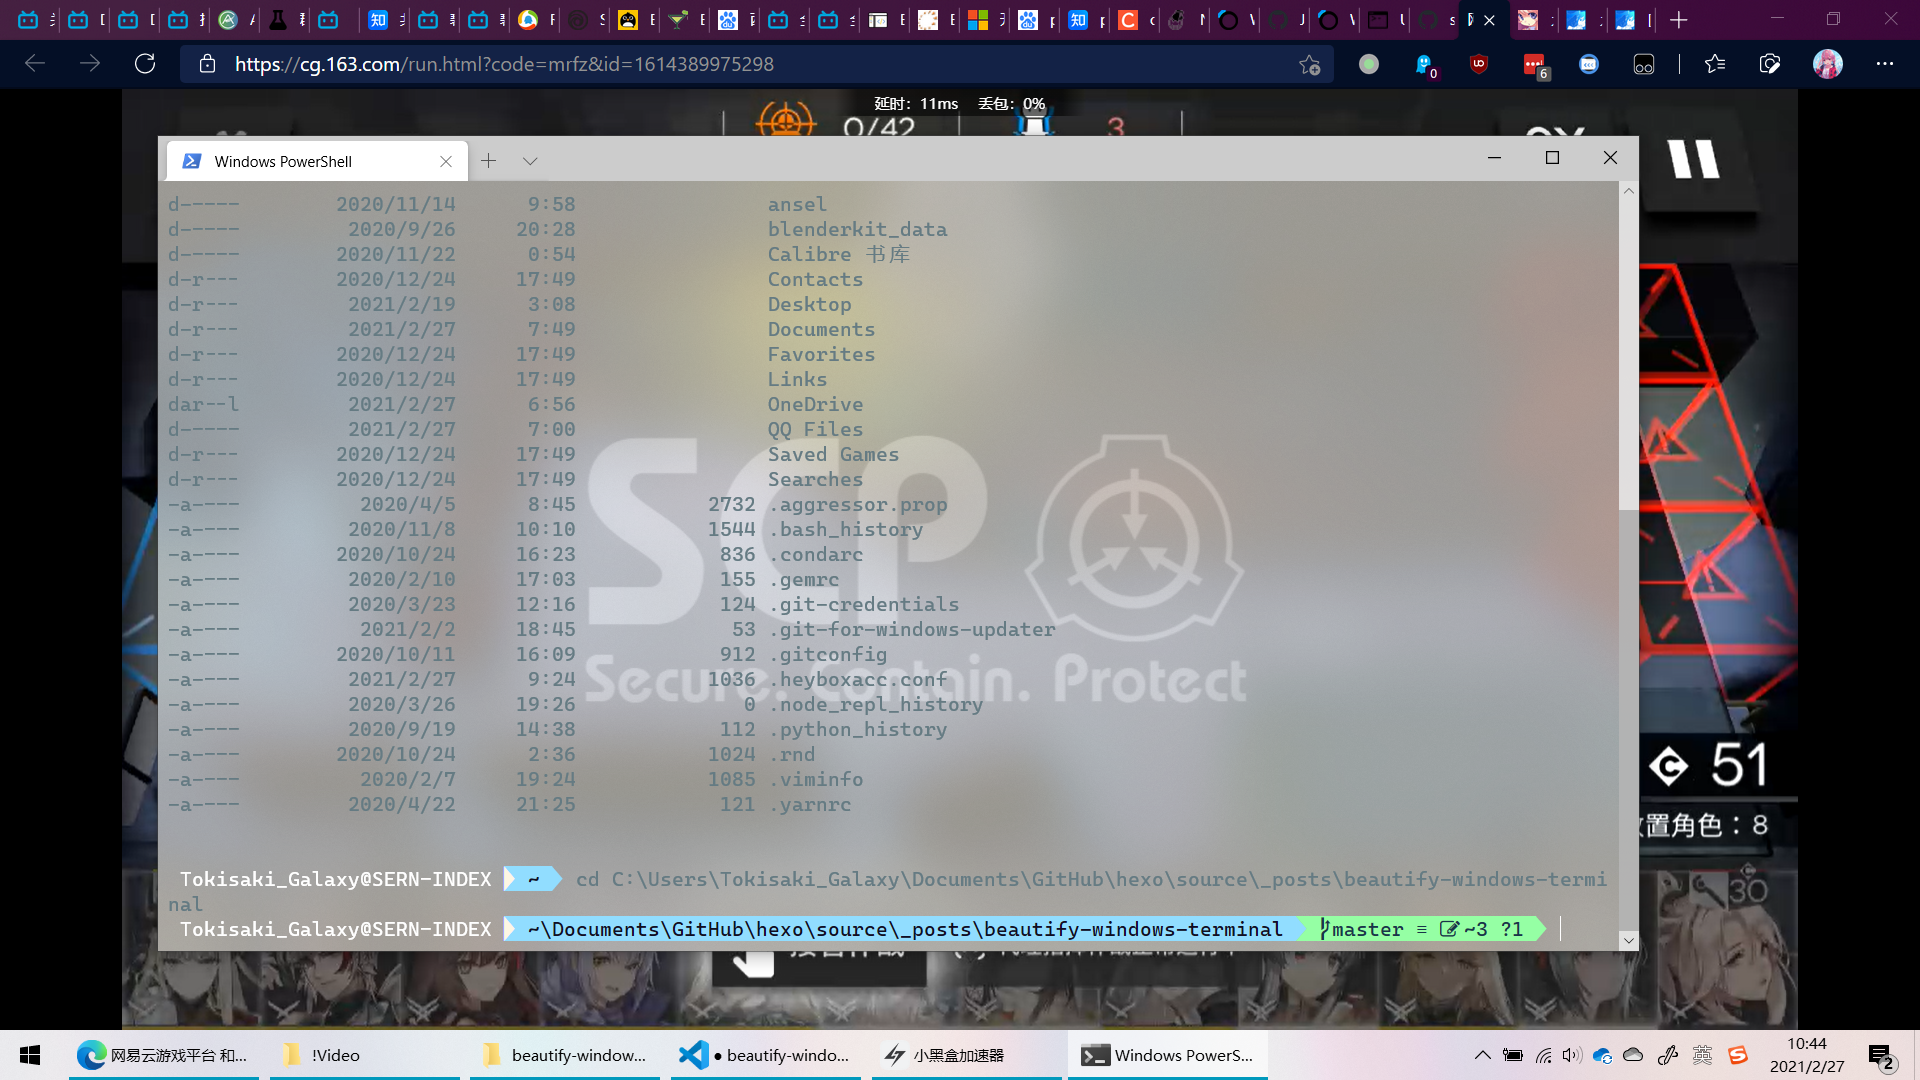
Beautifying Windows Terminal
安装Windows Terminal
有两种下载方法,去Github或者Windows Store。
建议去Windows Store下,可以自动更新。
更新Windows Powershell
这一步是可选的
Windows自带的是万年不变的5.0,可以更新到新的版本,目前为止,最新的LTS长期支持是7.0.5版本。
更新方法
更改Windows Terminal配色方案
https://docs.microsoft.com/zh-cn/windows/terminal/customize-settings/color-schemes
设置脚本运行权限
默认是禁止所有脚本运行,可以通过Get-ExecutionPolicy来查看当前脚本运行策略,然后通过Set-ExecutionPolicy来设置新的策略。
可选的策略
1 | |
可以输入Set-ExecutionPolicy all来使用AllSigned策略,即允许只输入前面几个字符。
为了之后的美化设置,我们需要设置为RemoteSigned。
输入Set-ExecutionPolicy remote即可。
安装美化模块
安装模块命令语法
Powershell下安装模块的命令Install-Module [moudel name]Install-Module [moudel name] -Scope CurrentUser #只为当前用户安装
安装模块
1 | |
加载模块与设置主题
注意,加载主题的命令是Set-PoshPrompt -Theme powerline,而不是Set-Theme powerline!!!
1 | |
这里是oh-my-posh的链接,放在这里给有可能需要的人用。
这时已经可以看到美化后的终端了,但是关闭后就会重置之前的设置,所以需要把刚才这几段命令放到每次打开终端自动加载的脚本里。
保存设置
为你一个用户保存
输入$PROFILE,然后它会显示你个人用户每次打开终端自动运行的脚本,然后用notepad编辑那个文件,把下面这一段添加进去。
1 | |
为这台电脑上所有用户保存
一样的操作,只不过要修改的文件在"%windir%\system32\WindowsPowerShell\v1.0\Microsoft.PowerShell_profile.ps1"。
乱码的解决方法
乱码是因为oh-my-posh使用了图标,但是你的字体里又没有包含图标,所以需要换一个新的,带图标的字体。
Nerd字体下载地址
我自用的是Nerd里面的Cascadia Cove Nerd Font,感觉挺舒服的。
下载完之后安装到电脑,然后在Windows Terminal设置里面使用该字体就好了。
自用的设置文件(只是颜色的那一部分)
1 | |
Installing Windows Terminal
There are two methods to download it: from Github or the Windows Store.
It is recommended to get it from the Windows Store for automatic updates.
Updating Windows PowerShell
This step is optional.
The built-in version is the long-standing 5.0, which can be updated to a newer version. As of now, the latest LTS (Long Term Support) version is 7.0.5.
Update Method
Changing Windows Terminal Color Schemes
https://docs.microsoft.com/zh-cn/windows/terminal/customize-settings/color-schemes
Setting Script Execution Permissions
By default, all script execution is prohibited. You can check the current script execution policy using Get-ExecutionPolicy and set a new policy using Set-ExecutionPolicy.
Available policies:
1 | |
You can enter Set-ExecutionPolicy all to use the AllSigned policy, meaning you can type only the first few characters.
For the subsequent beautification settings, we need to set it to RemoteSigned.
Enter Set-ExecutionPolicy remote.
Installing Beautification Modules
Syntax for Installing Module Commands
Command to install modules in PowerShell:Install-Module [module name]Install-Module [module name] -Scope CurrentUser #Install for the current user only
Installing Modules
1 | |
Loading Modules and Setting the Theme
Note: The command to load the theme is Set-PoshPrompt -Theme powerline, not Set-Theme powerline!!!
1 | |
Here is the oh-my-posh link, placed here for anyone who might need it.
At this point, you should see the beautified terminal, but it will reset when closed. Therefore, you need to add the above commands to the script that runs automatically each time you open the terminal.
Saving the Settings
Saving for One User
Enter $PROFILE, which will display the script that runs automatically for your personal user each time the terminal opens. Then edit that file with notepad and add the following section.
1 | |
Saving for All Users on This Computer
Same operation, but the file to modify is "%windir%\system32\WindowsPowerShell\v1.0\Microsoft.PowerShell_profile.ps1".
Fixing Garbled Characters
Garbled characters occur because oh-my-posh uses icons, but your font does not include them. Therefore, you need to switch to a new font that includes icons.
Nerd Fonts Download Address
I personally use Cascadia Cove Nerd Font from Nerd Fonts, which feels quite comfortable.
After downloading, install it on your computer and then use that font in the Windows Terminal settings.
My Personal Settings File (Only the Color Part)
1 | |